With the
Poison doctor coat complete, it was time to add some accessories. I figured as a poison doctor, he should wander around dispensing poisons to people. To make the poisons portable, I got some used glass vials left over from my work and cleaned them thoroughly. While I loved the look of the glass vials, the caps were either grey plastic or white plastic and really really ugly. I decided to hide the caps with polymer clay. This is probably only my third project with polymer clay so I am pretty happy with how they came out.
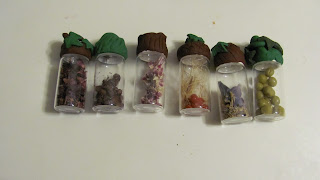 |
| Large bottles filled |
The white caps were hard plastic and as long as I removed the soft inner
lining could be place directly into the oven. So I simply molded the
clay directly onto the caps. I tried to follow the plant theme, and used leaves, wood and vines as my inspiration for the polymer clay.
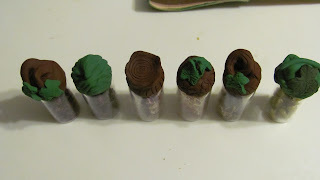 |
| Largbe bottles from the top |
Since the poisons referenced in the embroideries on the coat are both plants (hemlock, wolfbane, ect) and elixirs (Extract of wolfbane, Invisibility elixir, ect), I decided that some of the bottle should contain plant material and some should contain liquid. Since the larger bottle are much easier to fill, we filled them with assorted plant material from our yard. We then baked the plant material to dry it in the oven. Once the plant material was dried, we glued the tops onto the bottles to prevent any accidents.
The small bottles were then filled with liquid. In this case the liquid is distilled water with food coloring added. These bottles were also glued shut to prevent spills.
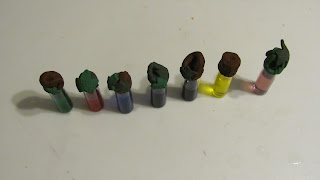 |
| Small bottles from the top |
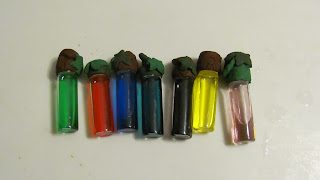 |
| Small bottles filled |
The brown bottles had soft plastic stoppers that would not survive
baking, so I used a polymer clay cookie cutter to make some brown and
green leaves. Once the leaves were baked, I glued them to the top of
the bottles. As these bottles were dark, I did not put any contents
inside.
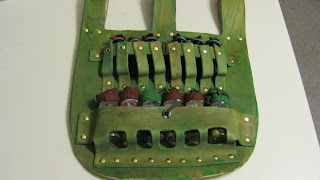
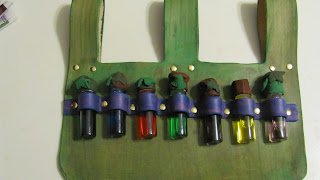
Once the bottles were ready, I used craft foam and tape to create leather holsters for the bottles. The idea was to make each holder unique to add some variety. Once the pattern was made, the leather was cut out, edged and stained. The staining was deliberately left streaky to go with the shady nature of a poison doctor. We also stained a belt blank with the same green stain to match and used a random gear belt blank we had lying around. Both holsters are entirely held together with rivets, entirely for aesthetic reasons. The holsters slip over the belt so the belt can be worn without them if needed.


 Once the bottles were ready, I used craft foam and tape to create leather holsters for the bottles. The idea was to make each holder unique to add some variety. Once the pattern was made, the leather was cut out, edged and stained. The staining was deliberately left streaky to go with the shady nature of a poison doctor. We also stained a belt blank with the same green stain to match and used a random gear belt blank we had lying around. Both holsters are entirely held together with rivets, entirely for aesthetic reasons. The holsters slip over the belt so the belt can be worn without them if needed.
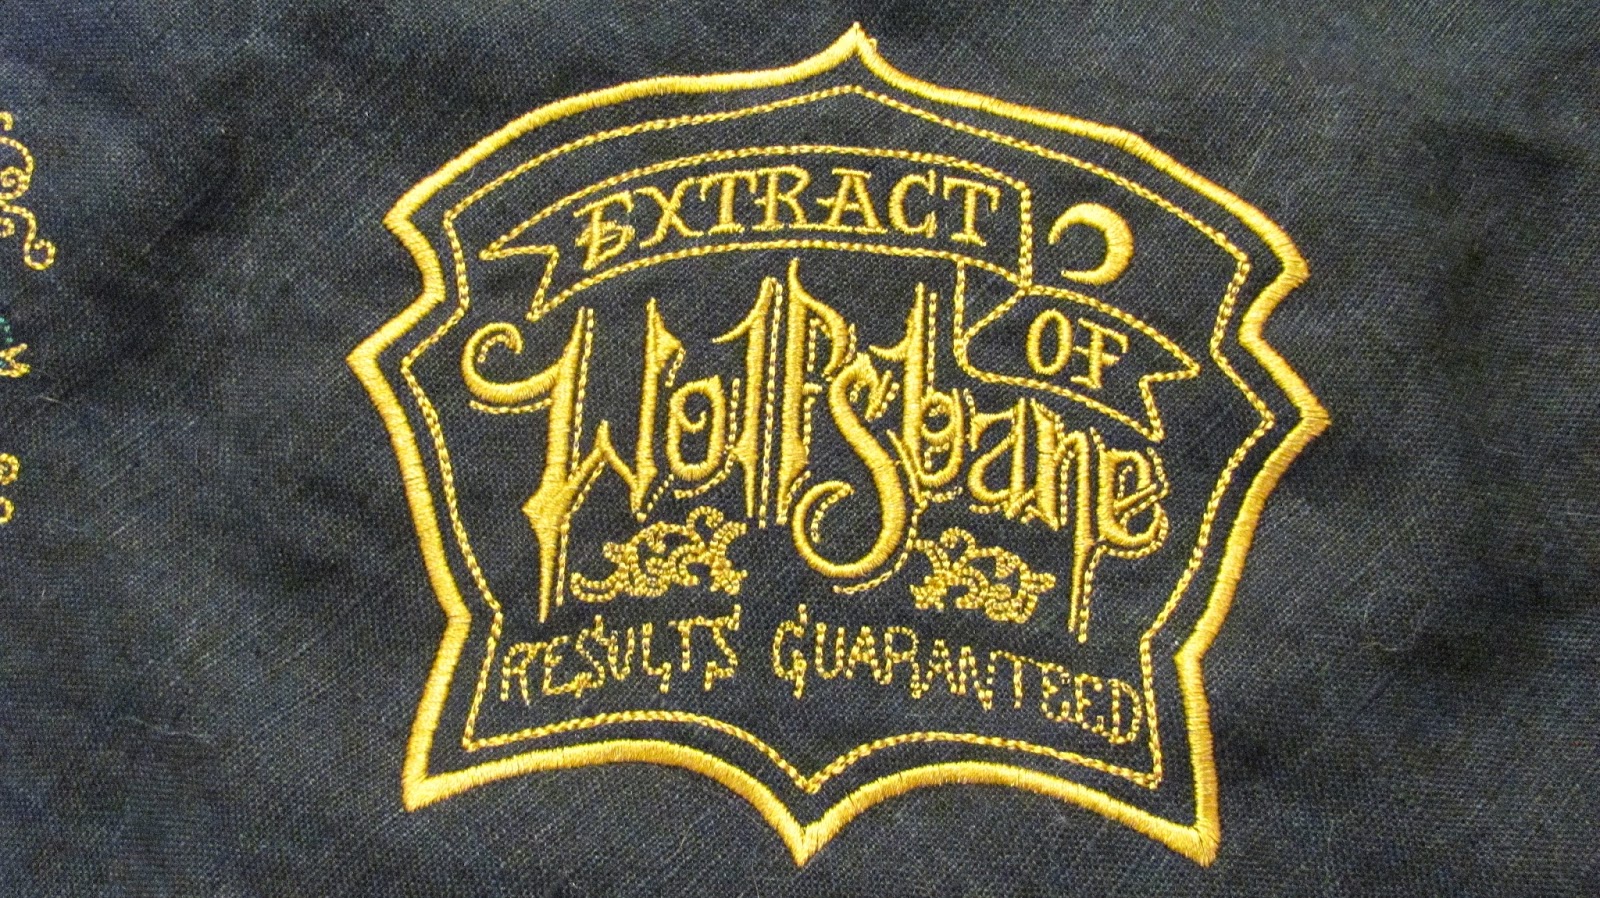
 Almost a year ago my husband and I made leather steampunk plague doctor masks and then wore them to a local convention called Steampunk Spectacular. I was very happy with how the masks came out, but always felt that we really needed outfits specific to the masks. I begun an outfit for myself based on the Dia de los Muertos skeletons to match the sugar skull mask, but had not begun an outfit for my husband. His mask reminds me of those Mr Yuk stickers that used to get stuck on poisonous stuff when I was a kid, so we decided he should be a poison doctor and provide poisons to people. To emphasize the poison tie, I decided to machine embroider the entire coat with poisons and evil elixir designs. I purchased the Apothescary and the Pretty Poison design packs from Urban threads and set to work embroidering the base black linen. The coat design was based off of Rasputin's black robe as the idea of a mad poison doctor also reminds me of Rasputin. To keep with the Mr. Yuk theme, all the embroideries were done in greens and golds. To give people an idea of how these designs come out, here are images of each design. Since each design was to be used multiple times, I altered the colors between runs, to give you an example. 'wolfbane' is shown twice, but once with an emphasis on yellow and once with an emphasis on green. All designs were used at least 3 times on the coat and the designs are 6-7 inches in their widest dimension.


